Flutter Golden Tests: The Complete Guide to Pixel-Perfect UI
Flutter Golden Tests help developers catch visual bugs early, maintain pixel-perfect UI consistency, and prevent design regressions across devices. In this blog, you’ll learn how golden tests work, how to set them up, the most common mistakes to avoid, and advanced techniques to make your UI testing sharper and more reliable.

Summarise with AI
My latest Flutter app update was perfect. But the next day, QA texted:
“Buttons are overlapping, and card spacing is broken on small screens.”
A single padding tweak had caused glitches across multiple screens, a common problem, as UI bugs are responsible for up to 40% of production issues.
That’s when I discovered Flutter Golden Tests. They just hold your UI and alert you to any unexpected changes before users encounter them.
In this blog, you’ll learn how to set up golden tests, avoid common pitfalls, and keep your Flutter app pixel-perfect every time.
Table of Contents
Understanding Flutter Golden Tests: Beyond the Basics
Golden Tests Flutter, also known as snapshot tests, take a picture of your widget and compare it to a saved reference image, which is further referred to as a golden file. If an issue occurs, such as a button changing or spacing alignment, the test fails, and you will be notified with a failed image and the part of the UI that changed.
This makes golden testing a powerful part of modern Flutter App Testing Services, ensuring visual accuracy long before users ever interact with the UI.
Why Traditional Widget Tests Aren’t Enough
Traditional widget tests are not fit for all corners. Widget tests can verify widget patterns and presence, but cannot protect against positional changes or visual regressions. For example:
dart
testWidgets(‘Button test’, (tester) async {
await tester.pumpWidget(MyButton());
expect(find.byType(MyButton), findsOneWidget); // Passes
});
This test passes even if:
- The button moved 50 pixels to the right
- Colors changed from blue to red
- Font sizes doubled
- Padding disappeared entirely
With the Golden tests, it catches up all these issues automatically. They’re best for:
- Custom Paint widgets where manual testing is impractical
- Theme changes affecting multiple screens
- Responsive layouts across device sizes
- Animation frames requiring precise visual validation
Why Flutter Golden Tests Are Needed
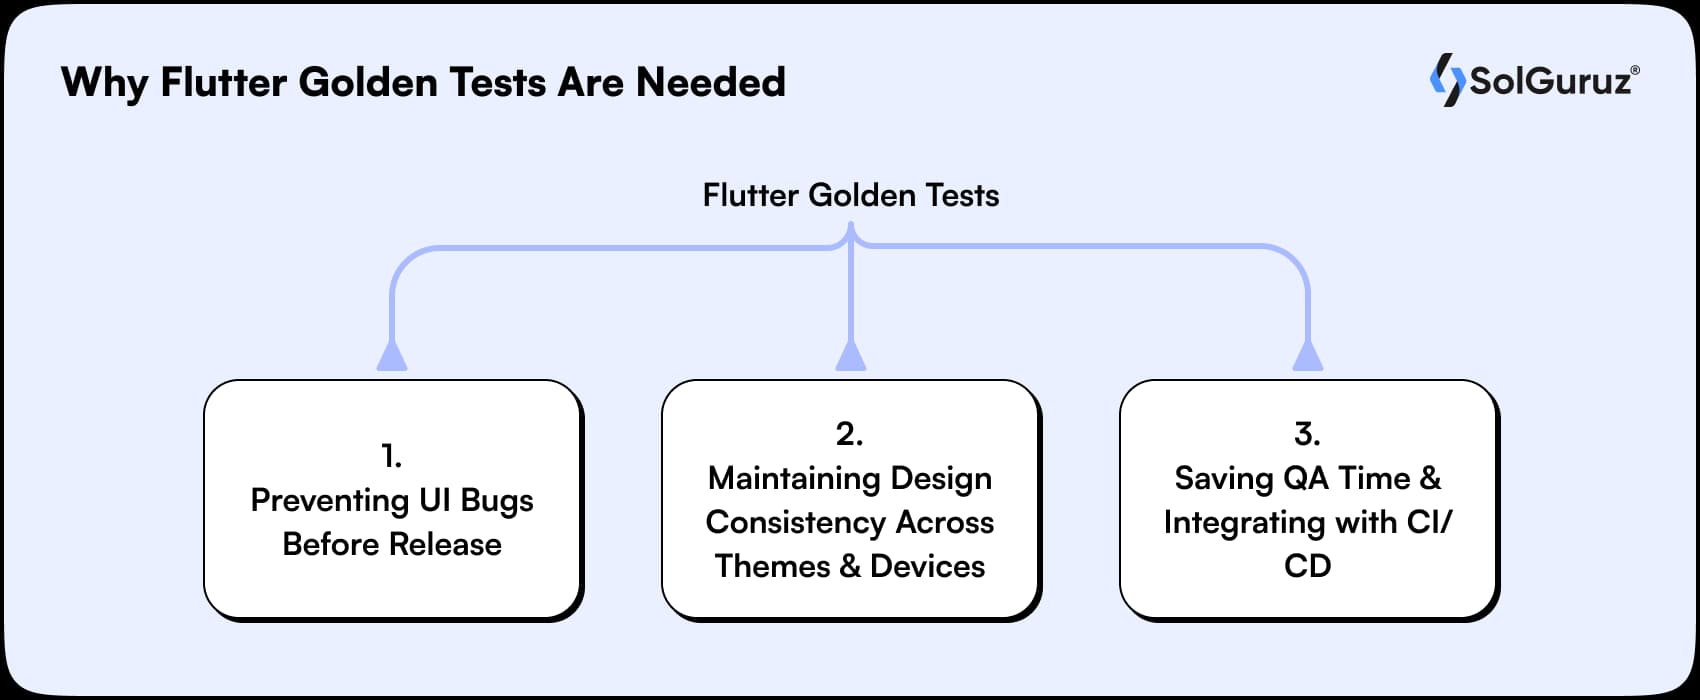
Many of you might not be aware why Flutter golden tests are needed, right? Here’s why they’re important, and why accessing Flutter golden tests documentation (and even understanding the Cost to hire Flutter Developers becomes essential when planning strong, stable UI workflows:
1. Preventing UI Bugs Before Release
There can be small issues, such as button padding, that can cause a break in multiple screens. With the help of the golden test, it directly compares your UI with saved images. It helps you to see visual errors before using them.
2. Maintaining Design Consistency Across Themes and Devices
Apps have different modes, such as light and dark, and with different screen sizes. Through the implementation of the golden test, it thematically differentiates right on the spot. It ensures your apps look and maintain consistency across every device.
3. Saving QA Time and Integrating with CI/CD
To test the screen, QA teams have to check everything manually, which is quite a time-consuming process. By applying the golden test, it automates visual checks and identifies the problem quickly. They integrate with CI/CD, providing you with continuous feedback on UI changes.
Setting Up Your First Flutter Golden Test
If you’re exploring how to make a Flutter Golden Test, don’t worry, it’s much simpler than most beginners expect. Here’s the exact setup process I follow:
Step 1: Add Dependencies
dev_dependencies:
flutter_test:
sdk: flutter
alchemist: ^0.130
Step 2: Create a Golden Test File
import ‘package: alchemist/alchemist.dart’;
import ‘package: flutter/material.dart’;
import ‘package:flutter_test/flutter_test.dart’;
void main() {
goldenTest(
‘ElevatedButton shows tap indicator when pressed’,
fileName: ‘elevated_button_pressed’,
whilePerforming: press(find.byType(ElevatedButton)),
builder: () => GoldenTestGroup(
children: [
GoldenTestScenario(
name: ‘pressed’,
child: ElevatedButton(
onPressed: () {},
child: const Text(‘Pressed’),
),
),
],
),
);
}
Step 3: Generate Golden Files
flutter test –update-goldens
Flutter captures a snapshot of your widget. Future test runs compare the live widget with this “golden” image, alerting you to see any changes.
How Flutter Golden Tests Work
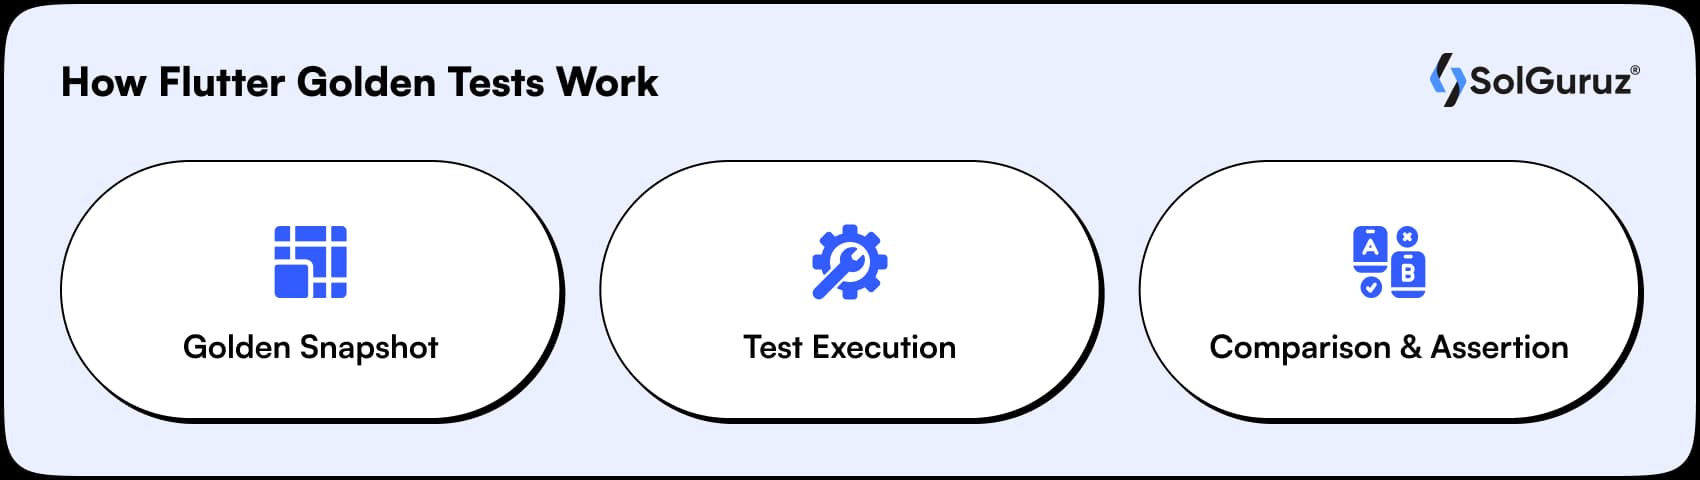
Do you know how the Flutter golden test really works? Flutter golden tests are a type of UI test meant to identify the visual problem automatically. In contrast, a widget test that focuses on checking functionality at primary, golden tests compare the visual output of a widget against a stored reference image, also known as a golden file.
1. Golden Snapshot
Confused about what a golden snapshot is? A golden snap is nothing but a reference image that shows the real visual UI element, especially. This snapshot is stored as a file (e.g., golden.png) in your test directory. It acts as a baseline for all future visual comparisons, ensuring UI quality is consistent across all platforms.
2. Test Execution
Whenever a golden test runs, Flutter renders your widget just like it would appear in the app. It stores everything you see on screen, for example, layout, colors, fonts, and spacing. This enables the test to compare the current widget with the golden snapshot correctly.
3. Comparison and Assertion
This test usually compares the new screenshot of your widget with the saved golden file. If they match or are close enough, the test is passed. If they don’t, the test fails, showing that UI has been changed. It is called an assertion, which means the test is checking whether the UI is right or not.
Flutter Golden Tests Key Concepts and Usage
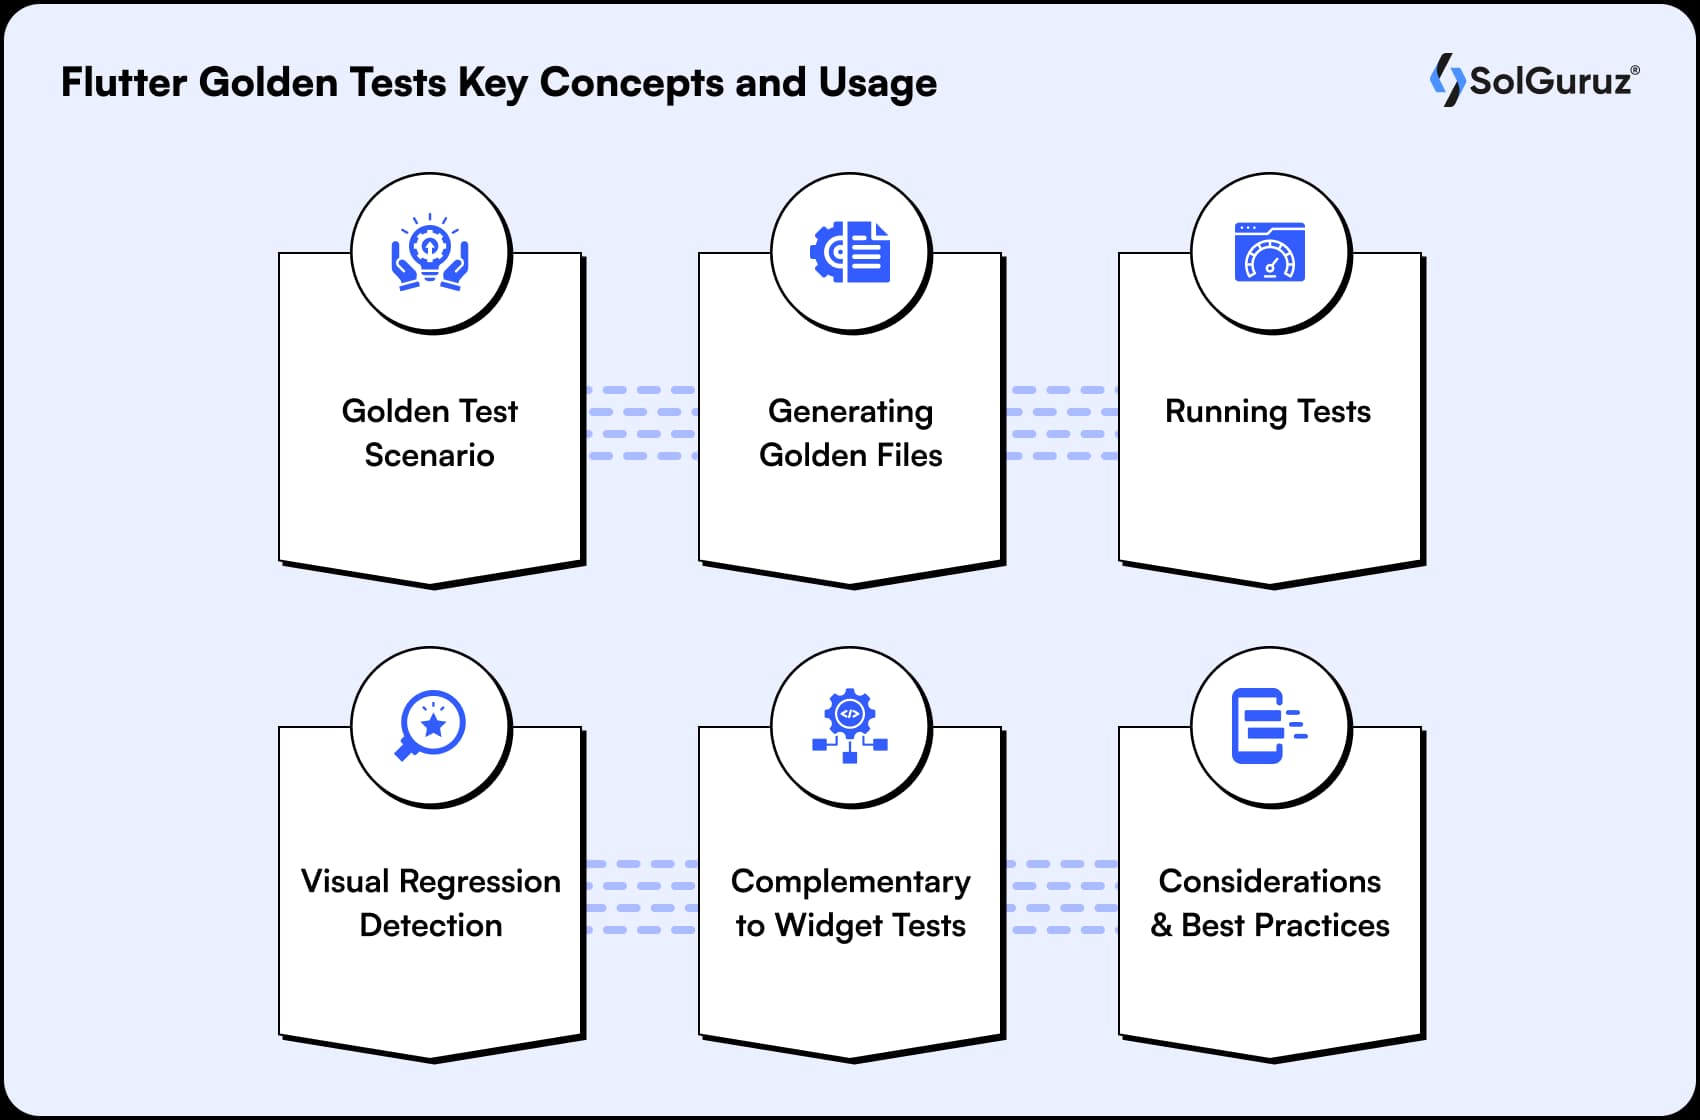
There are different important concepts and uses that make golden tests effective for testing visual elements. Let’s further understand so that it is easy to ensure that an AE test is accurate and actionable.
1. GoldenTestScenario
Golden tests are mostly written within the goldenTest functions, the same as widget tests. We use our widgets with GoldenTestScenario to check if the widget looks the same as the golden image or not.
2. Generating Golden Files
It is first necessary to create a golden file, run Flutter test, and then update goldens. This collects reference images of widgets, serves as a base for future comparisons. The presence of such files ensures your results are accurate and consent from the first run case.
3. Running Tests
After the generation of golden files, it’s time to run the Flutter test (without-update-goldens) will help you to compare your UI with those saved golden images. If something doesn’t match up, such as layout, colors, or fonts, the test will fail and reflect what has changed.
4. Visual Regression Detection
The benefit of the golden test is that it identifies the UI changes that are difficult to detect manually. They can identify layout shifts, font changes, color variations, and many other glitches. This ensures that any type of visual regression is detected at an early stage.
5. Complementary to Widget Tests
Using both the widget and the golden together could be an advantage. Since widget tests aim at testing functionality and behavior, whereas golden tests aim at visual design. Together, they provide complete test coverage, validating both logic and UI.
6. Considerations and Best Practices
Golden tests create many image files, so they can take up extra storage over time. Small changes among devices, like screen density or font rendering, could cause tests to fail even when nothing is actually wrong. Use toleranTo deal with such a situation, focus on using platform-specific golden files and fixed/locked fonts so your results are stable and consistent.
Remember: Visual regression (golden) tests not only make your UI more stable but also identify bugs early: for example, teams using Visual AI have reported 45% more effectiveness in finding bugs before final production.
Handling Problems: Common Pitfalls and Fixes of Flutter Golden Test
Before running golden tests, it is necessary to explore some commonly faced issues developers face and how to fix them. This detailed table analysis helps you avoid false failures, something even a top Flutter app development company prioritizes when maintaining UI quality at scale.
|
Pitfall |
Problem |
Fix |
Benefit |
| Lock Fonts | Sometimes various machines render fonts differently and which can cause irrelevant failures. | Get the collection of all fonts used in your app within the testing environment. | Make sure that all screenshots are consistent across all devices. |
| Fix Device Pixel Ratio (DPR) | Widgets can appear differently in tests due to different device pixel ratios. | Wrap widgets in MediaQuery with a fixed DPR. | Prevents minor differences from breaking your golden tests |
| Control Animations | Due to the involvement of animations, it can change the appearance of the widget between frames and trigger failures. | Use await tester.pumpAndSettle(); to finish all animations before snapshotting | Catches up the final, stable UI state reliably |
| Use Threshold Comparators | If the visuals are insignificant, the differences in tiny pixels might fail the tests. | Implement threshold comparators to ignore minor changes | Minimises the false positives and keeps tests actionable and reliable |
Advanced Tips for Flutter Golden Tests
Several strategies can be followed to make the golden tests more accurate. Let’s explore some of them:
1. Test Custom-Painted Widgets and Animations Frame by Frame
Normal tests often fail when it comes to testing or catching custom-painted widgets and animations. Golden tests allow you to test each animation frame or custom drawing, so that even a small visual error can be spotted, and make sure everything is correct.
2. Organize Golden Files by Widget, Theme, and Screen Size
It becomes difficult to manage golden tests as your project grows. By keeping files organised by theme, widget name, and type of device, it keeps your tests more structured and easier to navigate. This strategy helps both QA and developers to analyze issues without any mistakes.
3. Use Multi-Device Snapshots for Complete Coverage
The performance of widgets can be different based on different device types, such as due to screen sizes, resolutions, pixel ratios, and more. By taking snapshots across all devices, you can check layout issues before they reach to final deployment. This process makes sure that the app is consistent and syncing on tablets, foldables, and more.
Common Mistakes to Avoid in Flutter Golden Test
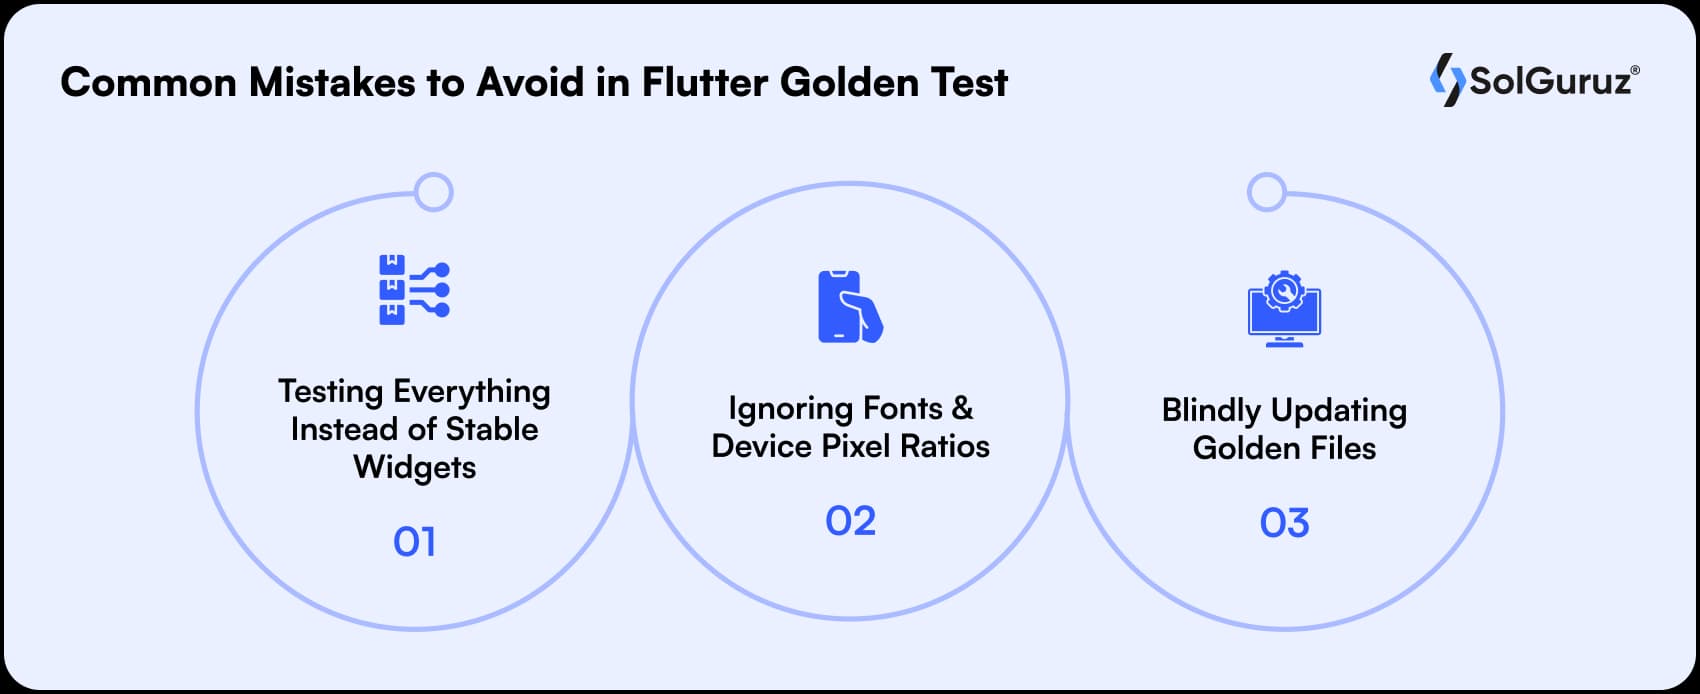
Most of the developers make mistakes when doing golden tests. Here are some of the mistakes to avoid:
1. Testing Everything Instead of Stable Widgets
It is essential to recognize that not all types of widgets require testing with golden tests. Instead, focus more on stable components. Remember that testing each widget will enhance maintenance and can slow down CI pipelines. This is one of the reasons many companies choose to hire Flutter app developers who understand where golden testing truly matters.
2. Ignoring Fonts and Device Pixel Ratios
Different devices and machines render fonts and pixel ratios differently. These factors should be ignored; they can cause failure in golden tests. Bundle fonts in the app and fix DPR to follow the consistency. The CI cannot render the fonts, so the Alchemist package will replace text with colored squares for CI snapshots.
3. Blindly Updating Golden Files
Before exploring golden file changes or problems, updating them blindly can be problematic. It can lead to unnoticed bigs which need to be improved. Properly check out the changes and maintain the integrity of your tests.
Final Thoughts: Pixel-Perfect UI Isn’t Luck, It’s Process
Flutter golden tests are necessary for identifying visual bugs early and keeping your UI consistent across every device. The golden tests are critical as they help in ensuring the visual integrity and keeping the UI consistent.
With locked fonts, stable DPR, and CI/CD integration, they can be your strong quality criteria that ensure clean, predictable, and professional UI releases.
If aiming to do Flutter testing rightfully done, SolGuruz can set up scalable frameworks, automate multi-device snapshots, and integrate everything into your CI/CD, helping your team ship flawless UI with confidence.
We help in setting up scalable golden test frameworks, automate multi-device snapshots, and integrate everything into your CI/CD so that your team can deliver smooth and consistent UI.
FAQs
1. Are Flutter Golden Tests suitable for large-scale apps?
Definitely yes. Golden tests are beneficial for larger apps since they identify the visual errors across multiple screens and different themes. When integrated with CI/CD, they assist teams in keeping UI consistent, even with regular updates.
2. Do golden tests slow down CI pipelines?
Golden tests can slow down your CI pipelines only if used improperly. For example, testing every widget can affect the process, and you should focus more on stable components and important screens only.
3. How do I deal with false failures triggered by different machines or OS?
You can deal with false failure by fixing the device pixel ratio (DPR), locking up the fonts, which critically eliminates most inconsistencies. Tools such as Alchemist also ensure consistent rendering across environments.
4. Can golden tests detect responsive layout issues?
Yes, Golden tests can detect layout issues. For example, by running multiple device snapshots over different devices, such as tablets, phones, you can analyse layout shifts or issues related to alignment that can be seen on a specific screen size.
5. When do I need to update golden files?
You can update golden files only when UI changes can occur intentionally. Updating them blindly should be avoided; always see the difference to ensure you are not approving error solutions unexpectedly.

Written by
Mihir Joshi
Mihir Joshi is a Senior Flutter Developer at SolGuruz focused on building scalable, high-performance cross-platform applications using Flutter and Dart. He works on production mobile systems with an aim on clean architecture, performance tuning, and testable code structures. He works closely with design, backend, and product teams to make complex requirements into stable, production-ready Flutter applications. Mihir also contributes to internal engineering standards and provides training to junior developers on modern Flutter practices.
From Insight to Action
Insights define intent. Execution defines results. Understand how we deliver with structure, collaborate through partnerships, and how our guidebooks help leaders make better product decisions.
Stop Bugs Using Flutter Golden Tests
Transform your testing flow into a visual bug-catching machine, fast, clean, and impossible to break.

Strict NDA

Trusted by Startups & Enterprises Worldwide

Flexible Engagement Models

1 Week Risk-Free Trial